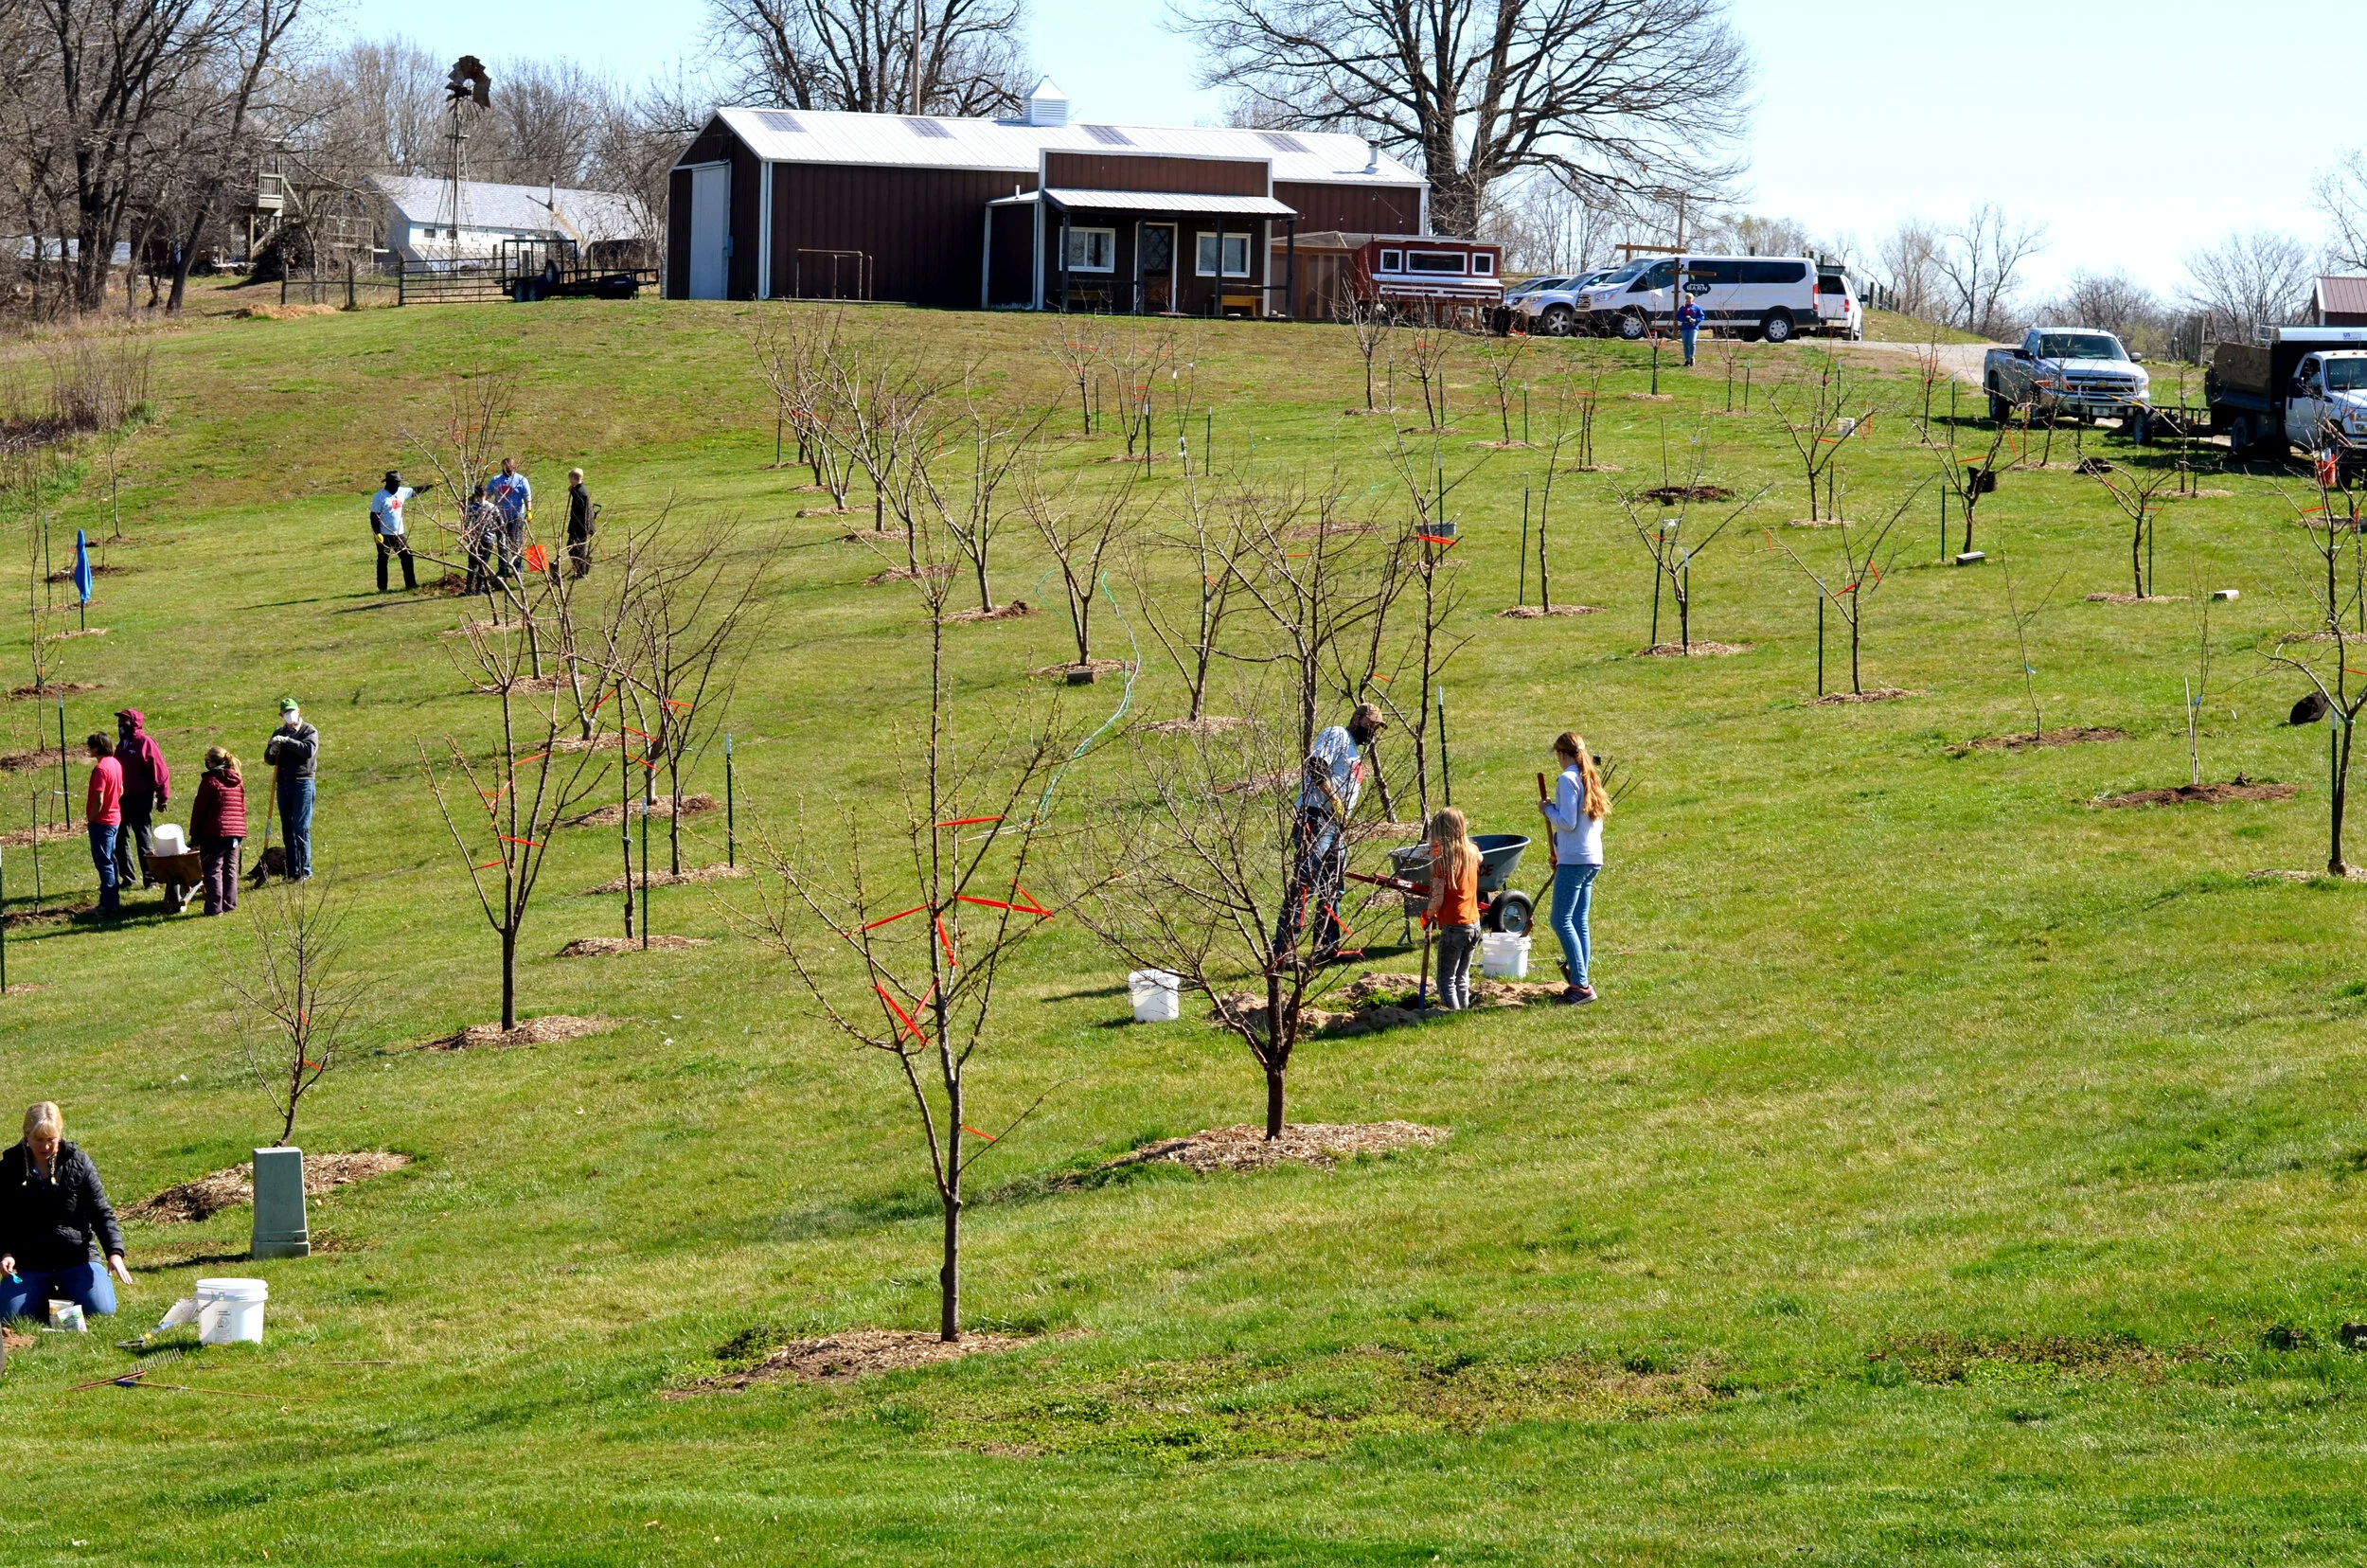
Fruit trees planted in the spring are generally bare-root trees. To ensure the success of your tree, follow these step-by-step instructions or contact your local Giving Grove affiliate for zone-specific information. If you would like more information like this sent straight to your inbox, consider subscribing to The Serving, The Giving Grove’s quarterly newsletter.
Below are detailed instructions. If you would prefer to watch a tutorial on video, click here.
Determine a location.
An ideal location should have:
8+ hours of sun
Well-drained soil (not in standing water)
Sloped for good airflow
Plan for 15’ wide and 15’ tall for each tree
2. Perform a soil test.
a) Gather samples 3-6” deep around the planting area.
b) Send sample to the local extension office.
Results will take a couple of weeks and will tell organic material, pH, potassium, phosphorus, & more.
See site/soil amendments below for how to amend the soil.
3. Call 811 before you dig.
It can take up to 5 business days.
The field locator will flag underground utility lines.
4. Gather tools.
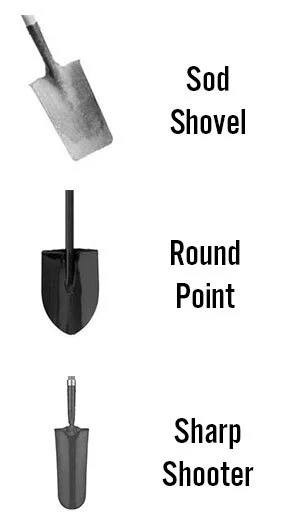
You will need a sod shovel, round point shovel, sharpshooter, rake, spray paint, gloves, wheelbarrow, soaking tub, & burlap.
5. Site & Soil Amendments
We use no more than 1- 2 cu ft bag of compost per tree (50% compost & 50% topsoil)
Add soil sulfur if pH is above 7.
Add bone meal if low in phosphorus.
Add mycorrhizal fungus for root growth and tree acclimation.
6. Sod Removal.
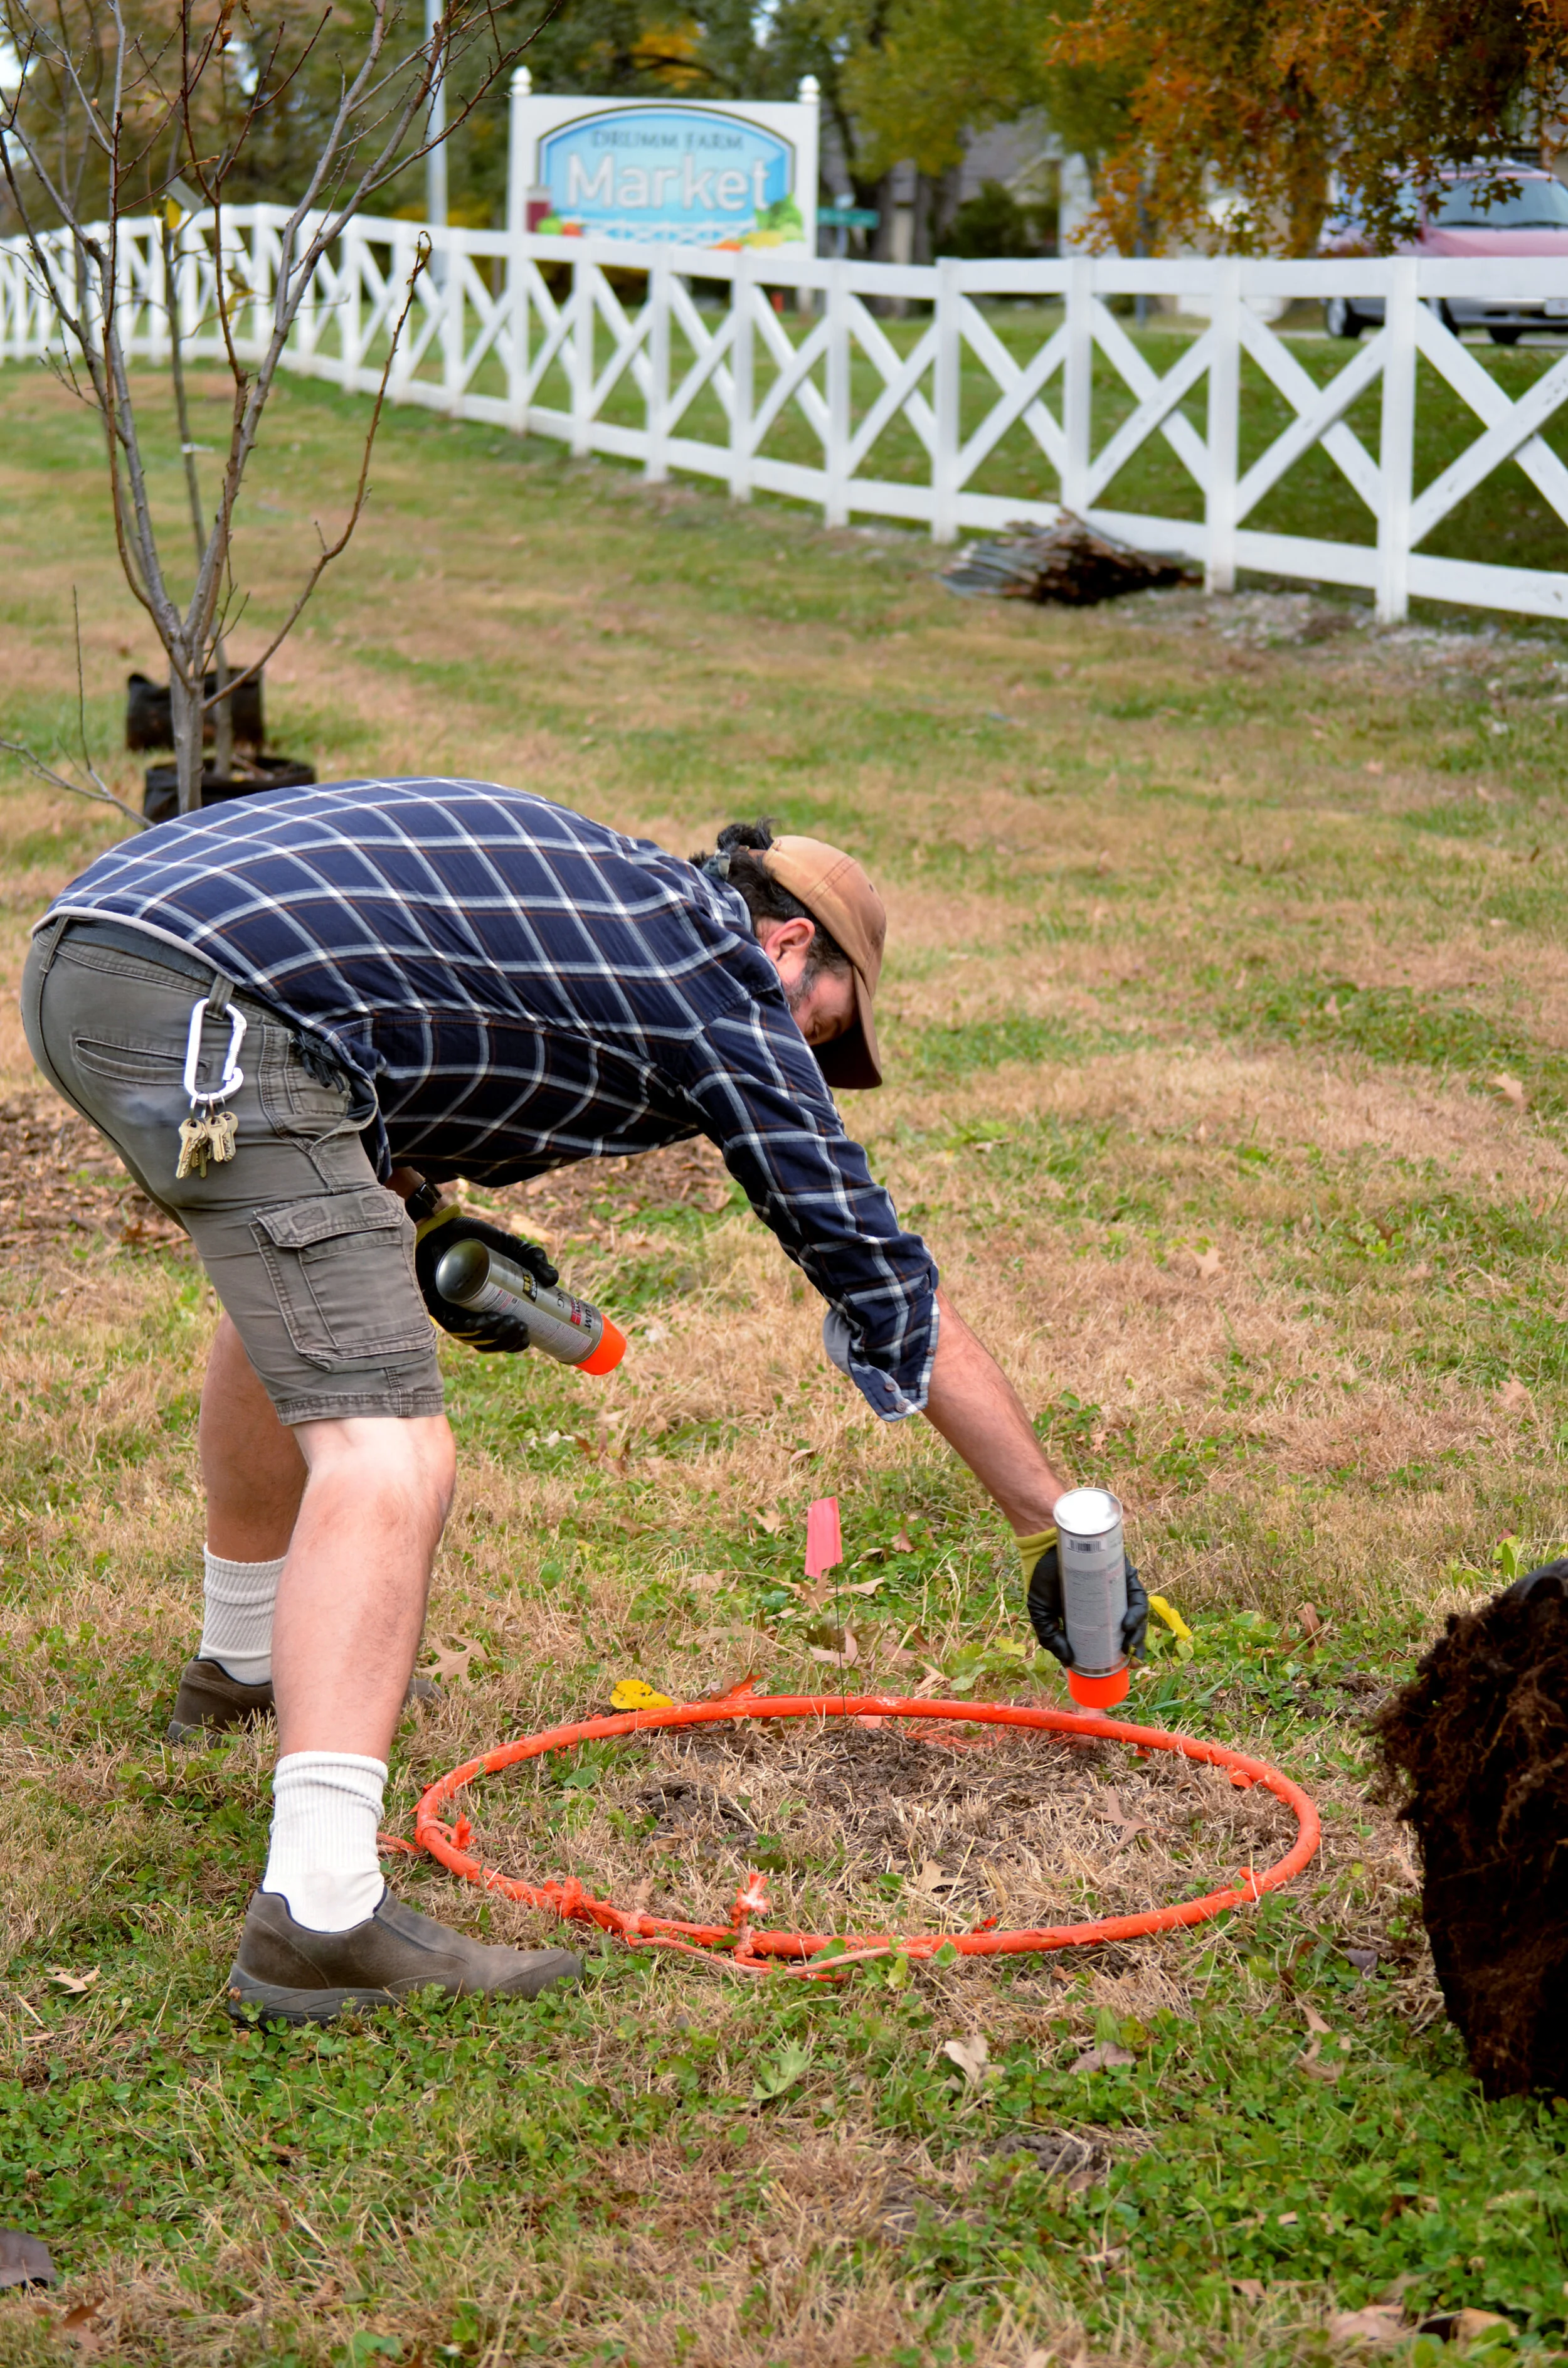
a) Start by marking a 30” diameter circle on the ground with spray paint.
b) Use the sod shovel to cut 2” deep around the edge of the circle.
c) Cut the circle into pieces using the sod shovel (like a pizza).
d) Remove the sod pieces and put them into a pile.
7. Dig the hole.
a) Start in the center of the hole to avoid glassing along the edge of the hole.
b) Remove the soil using the round point shovel and make a pile of soil separate from the pile of sod.
c) Once at the edge of the hole, begin to dig perpendicular to the edge to avoid glassing. The edge of the hole should be rough in texture and barrel-shaped (not V-shaped).
d) Remove urbanite (pieces of foundation, plumbing, etc) and place it in a separate pile.
8. Prepare the tree & the hole.
a) Soak the bare-root tree for 1 hour before planting.
b) Add soil amendments by adding soil/compost blend and backfill soil to form a cone at the bottom of the hole.
c) Add mycorrhizal fungus, sulfur, and bonemeal. Contact your local Giving Grove affiliate for amounts suitable for your local.
d) Take the tree out of the soaking tub.
e) Place tree in the hole, making sure roots are level or slightly above ground level.
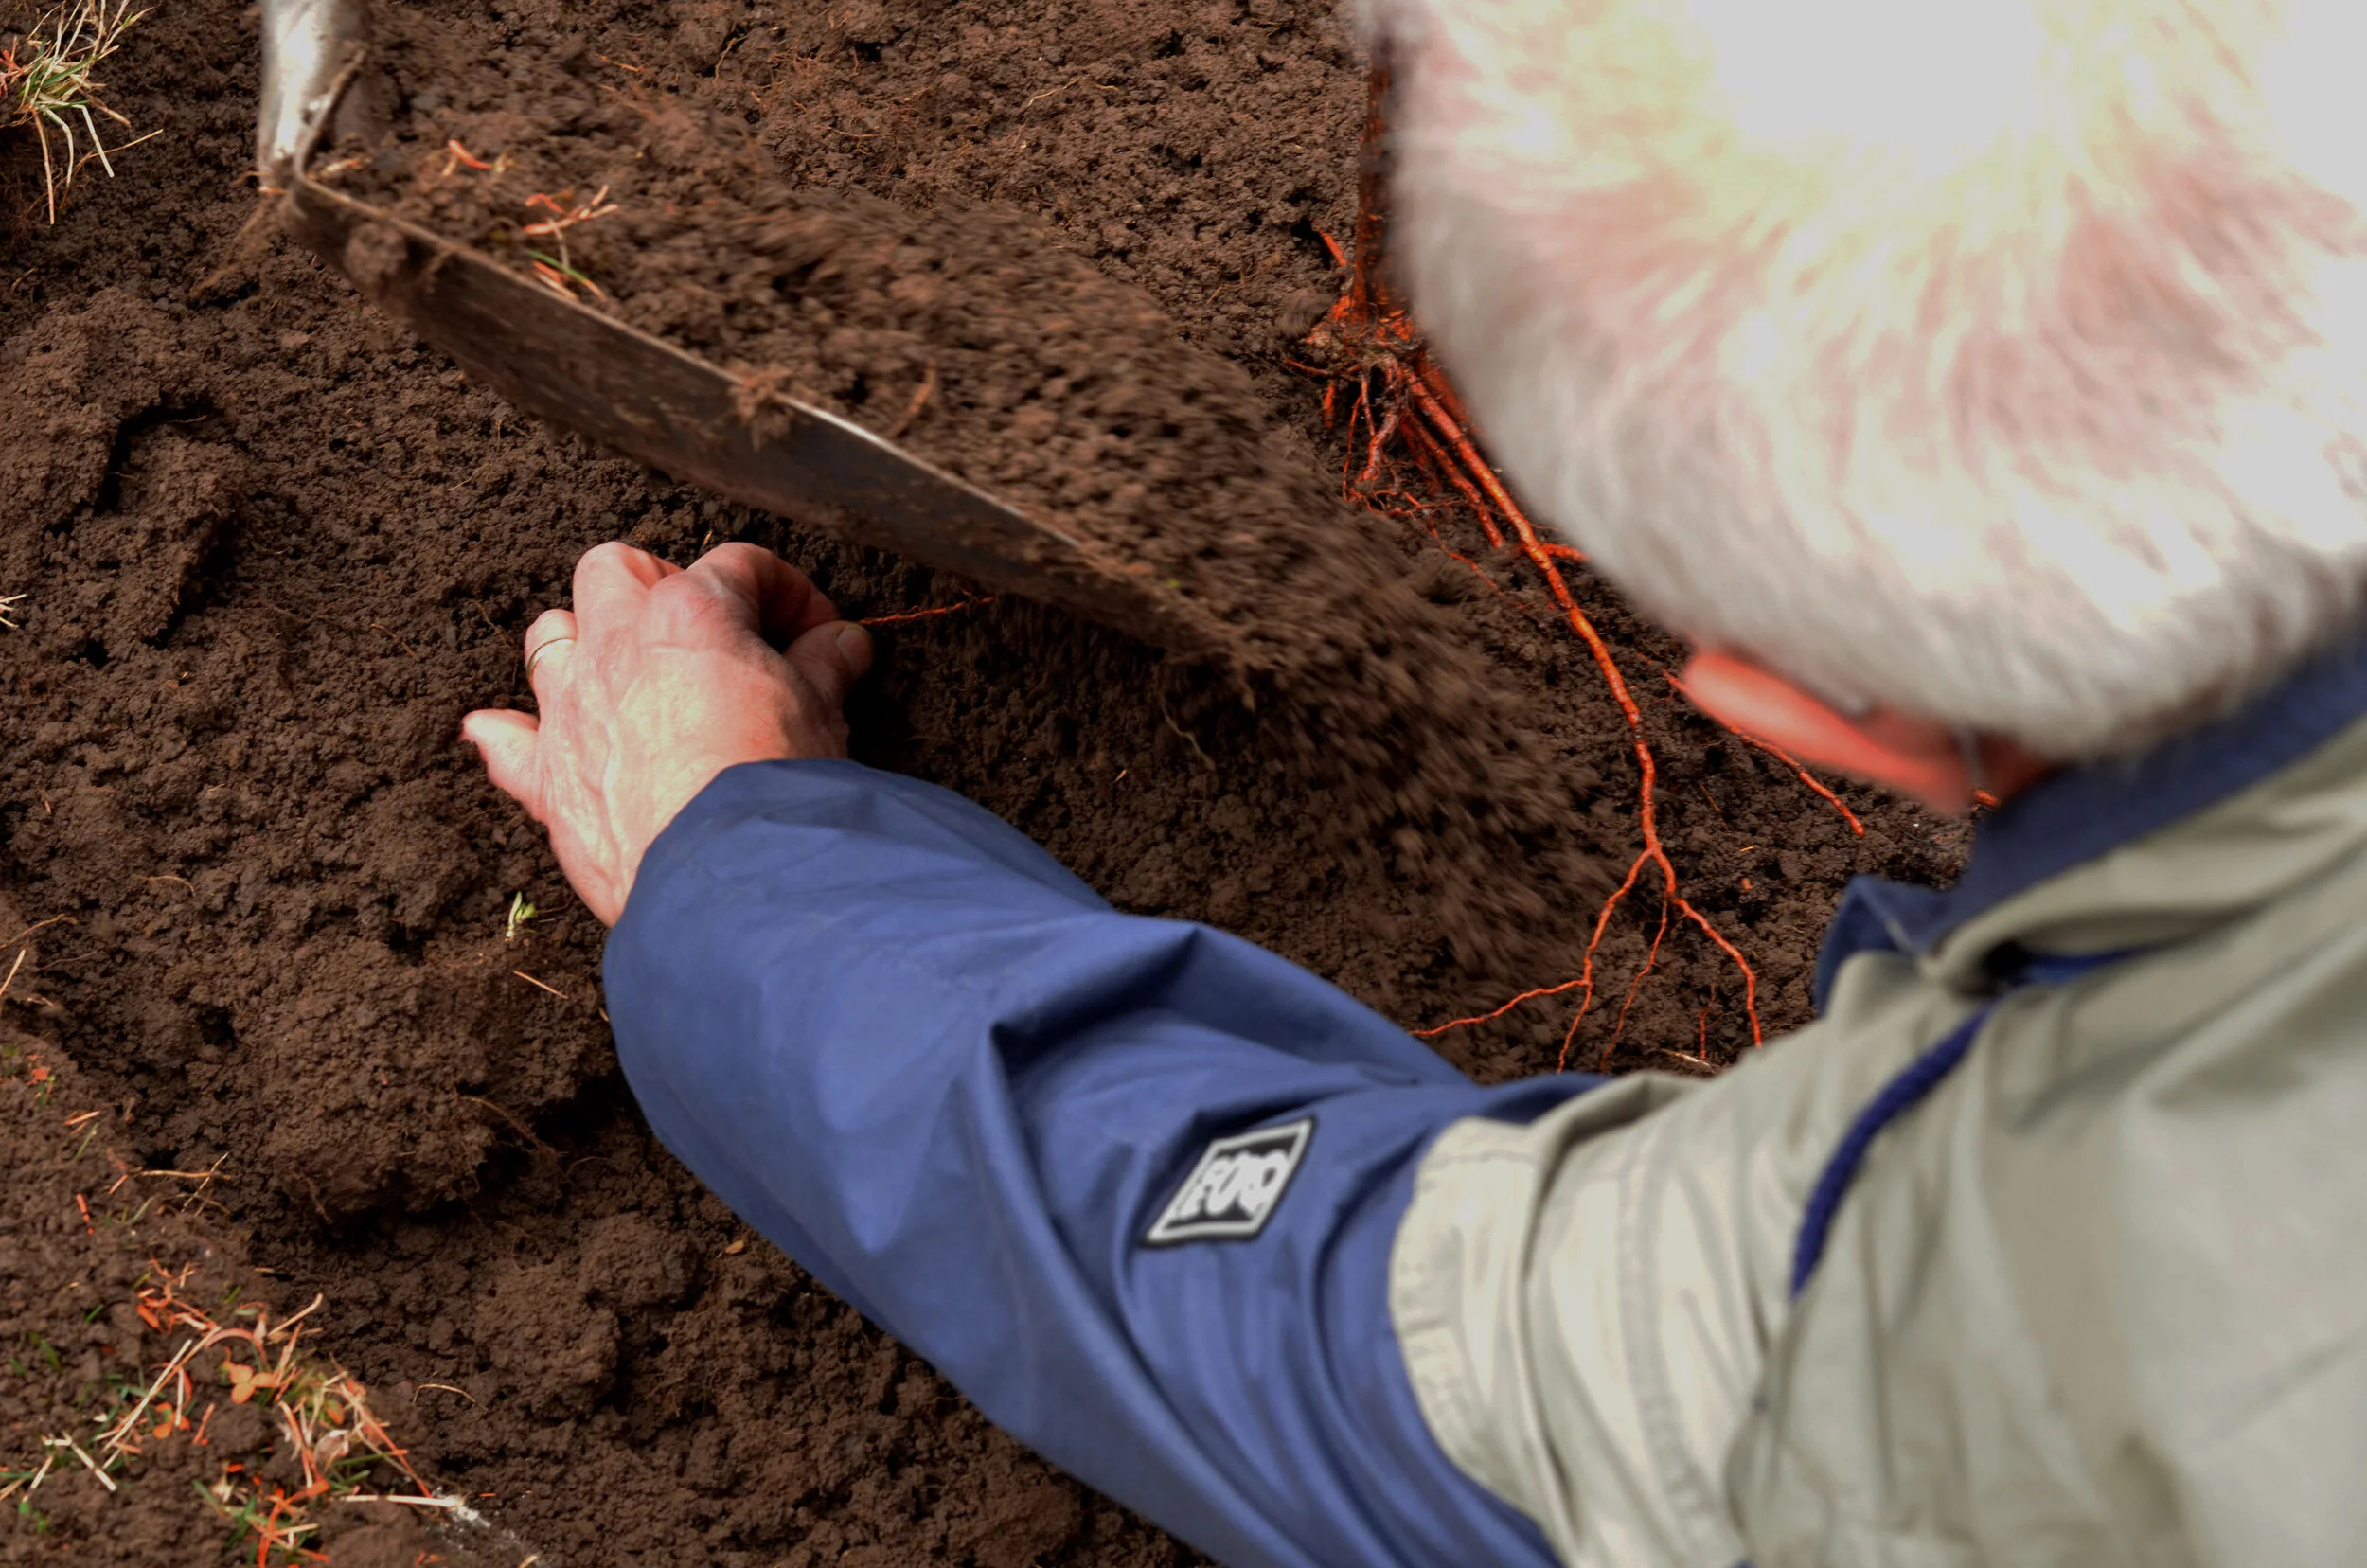
f) Hold tree upright in hole and backfill with soil/compost blend and original soil, making sure soil clods are broken up. When placing soil around the roots, make sure roots are spaced out evenly. And, be careful not to damage the tree trunk with tools.
g) As soil is filled in, massage soil around the roots. This removes air pockets and helps the tree settle.
f) Continue this action until the hole is filled and all the backfill is used. Be mindful not to cover the grafting joint between the root stock and scion. Do not compact soil with feet.
9. Leftover sod
All sod removed earlier can now be cut and placed green side down around the hole's outer edge. Do NOT use Bermuda grass sod. Throw Bermuda grass away!
10. Mulch
Mulch protects trees from mechanical mower damage. It helps keep weeds away from the tree and it breaks down, adding carbon to the soil.
Mulch with hardwood, not coniferous, wood chips. Hardwood chips benefit soil health and coniferous (evergreen) chips do not.
Mulch should be 4” thick around the edges and less than 1” around the trunk in a donut shape around the tree.
Mulch should extend past the sod ring.
11. Water
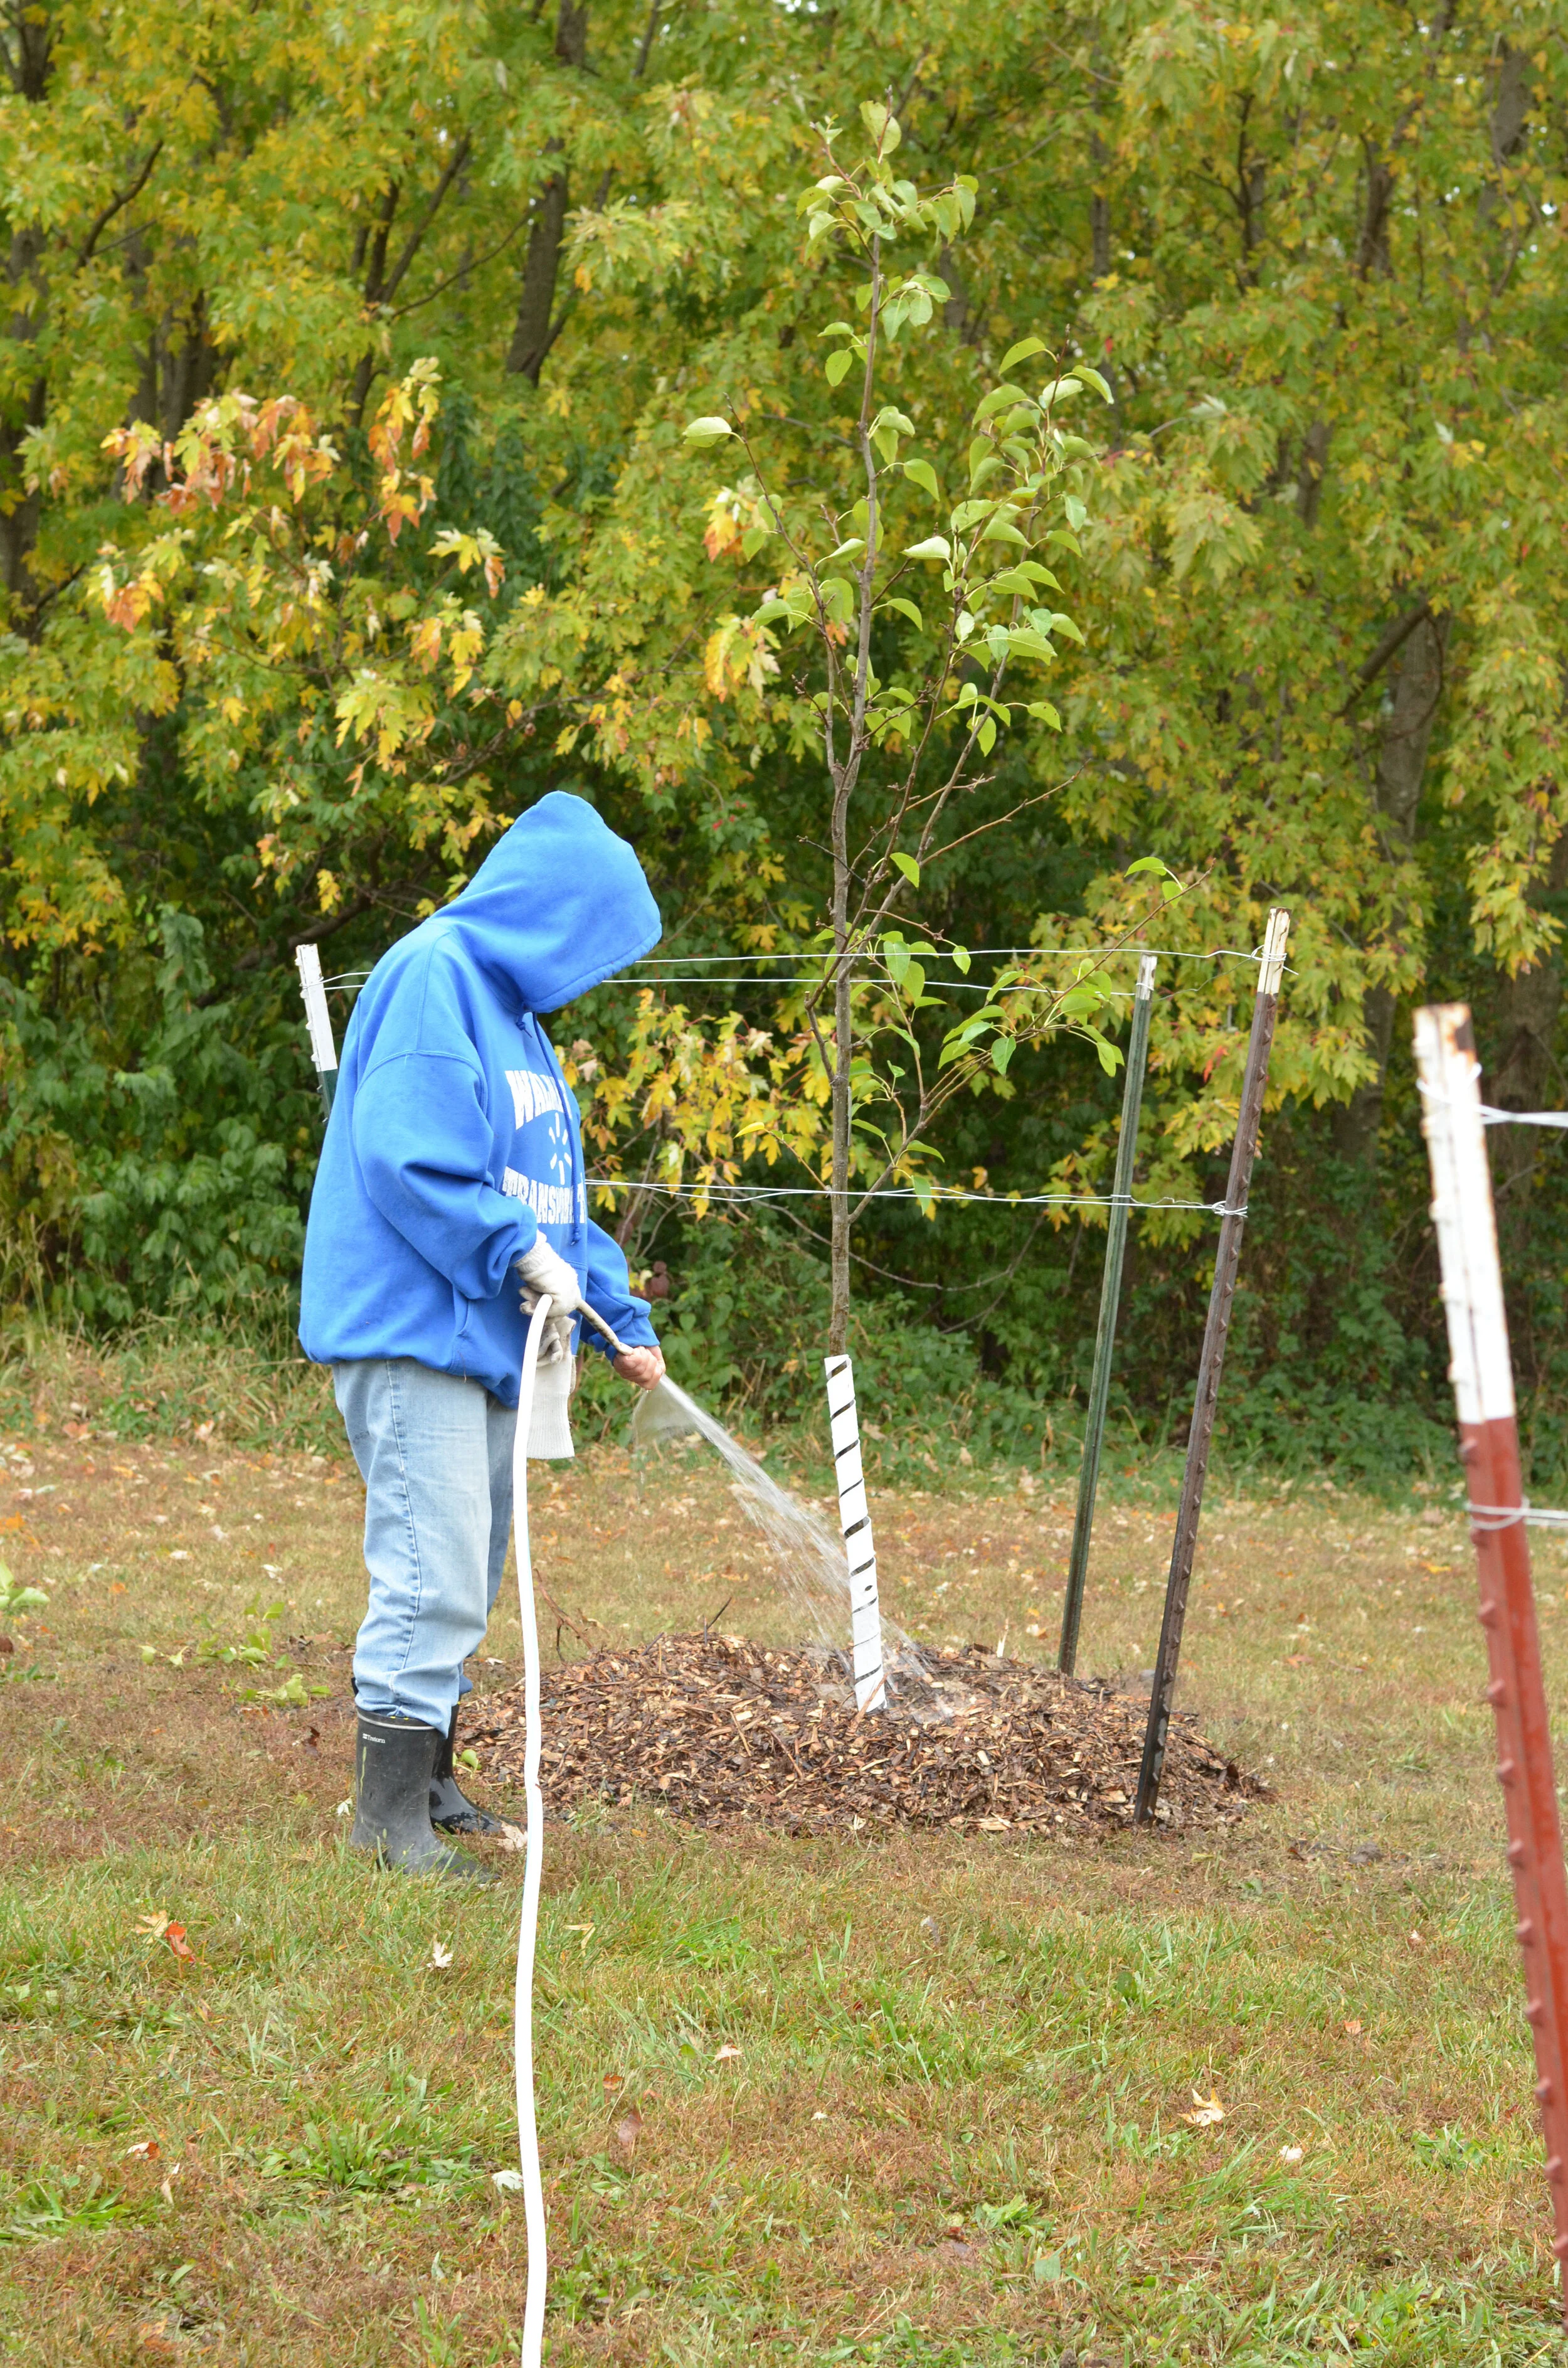
A newly planted tree will require 5-10 gallons of water. Water should be split into 2 applications to allow all the water to soak in slowly.
To test how long you should water each tree, fill a 5-gallon bucket with a gentle shower spray of water, counting the time it takes to fill the bucket. This is how long it will take to water 5 gallons per tree.
12. Tree support
Bamboo & Tie Tape:
a) Place bamboo firmly in the soil next to the tree.
b) Tie bamboo to the tree in 2-3 locations, including one on the rootstock.
c) Check every 6 months and remove or adjust the tape if it’s too tight.
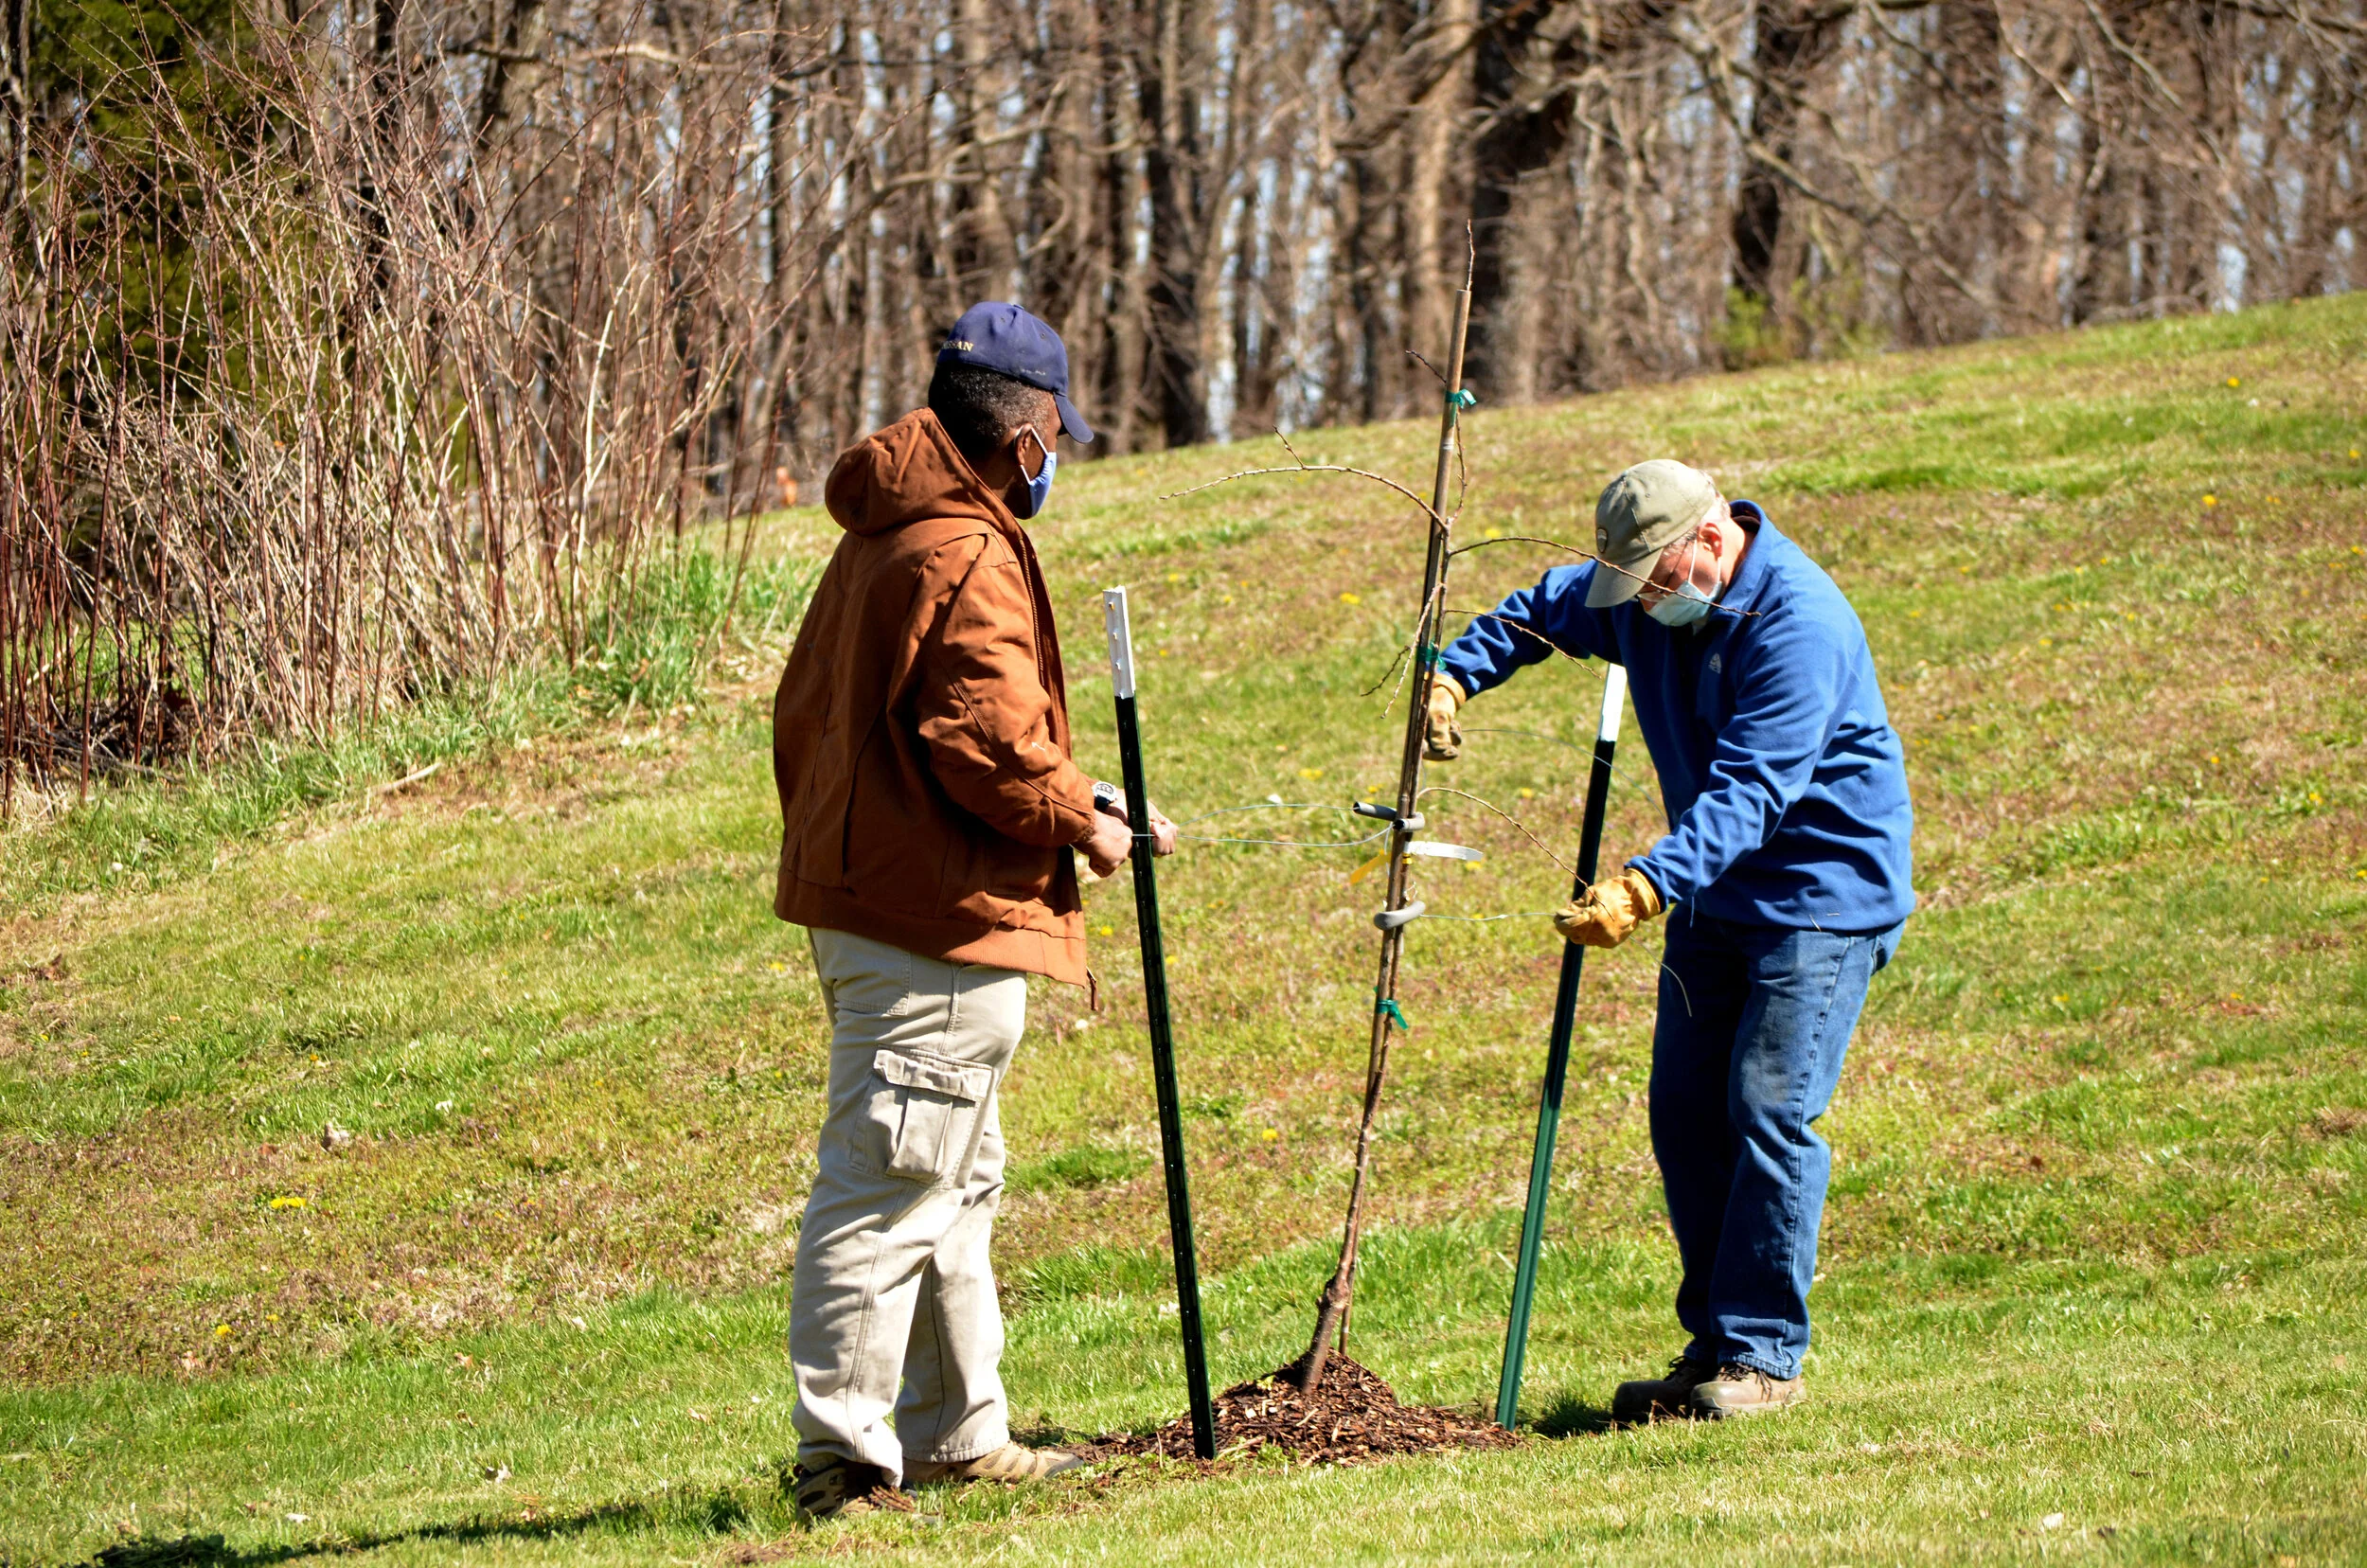
T-Posts & Wire (use with dwarfing rootstock tree and in high wind, high use areas):
a) Drive posts on east and west sides of the tree on the outside edge of the mulch ring.
b) Cut 2 pieces of wire twice the length of the distance from the stake to the tree.
c) Run the wire through an old piece of hose and place the wire/hose around the trunk of the tree.
d) With a helper on the other side, loosely tighten the wire making certain the tree is straight and plumb. Do not overtighten the wires. Check wires often and remove them after 2-3 years.
Video Tutorials:
Subscribe to our Giving Grove YouTube channel to get updated orcharding video content!


